How To Measure A Frame For An Existing Print
A practical step-by-step guide to how to measure a frame for an existing print, including preparation, instructions, common issues, tips, and next steps.
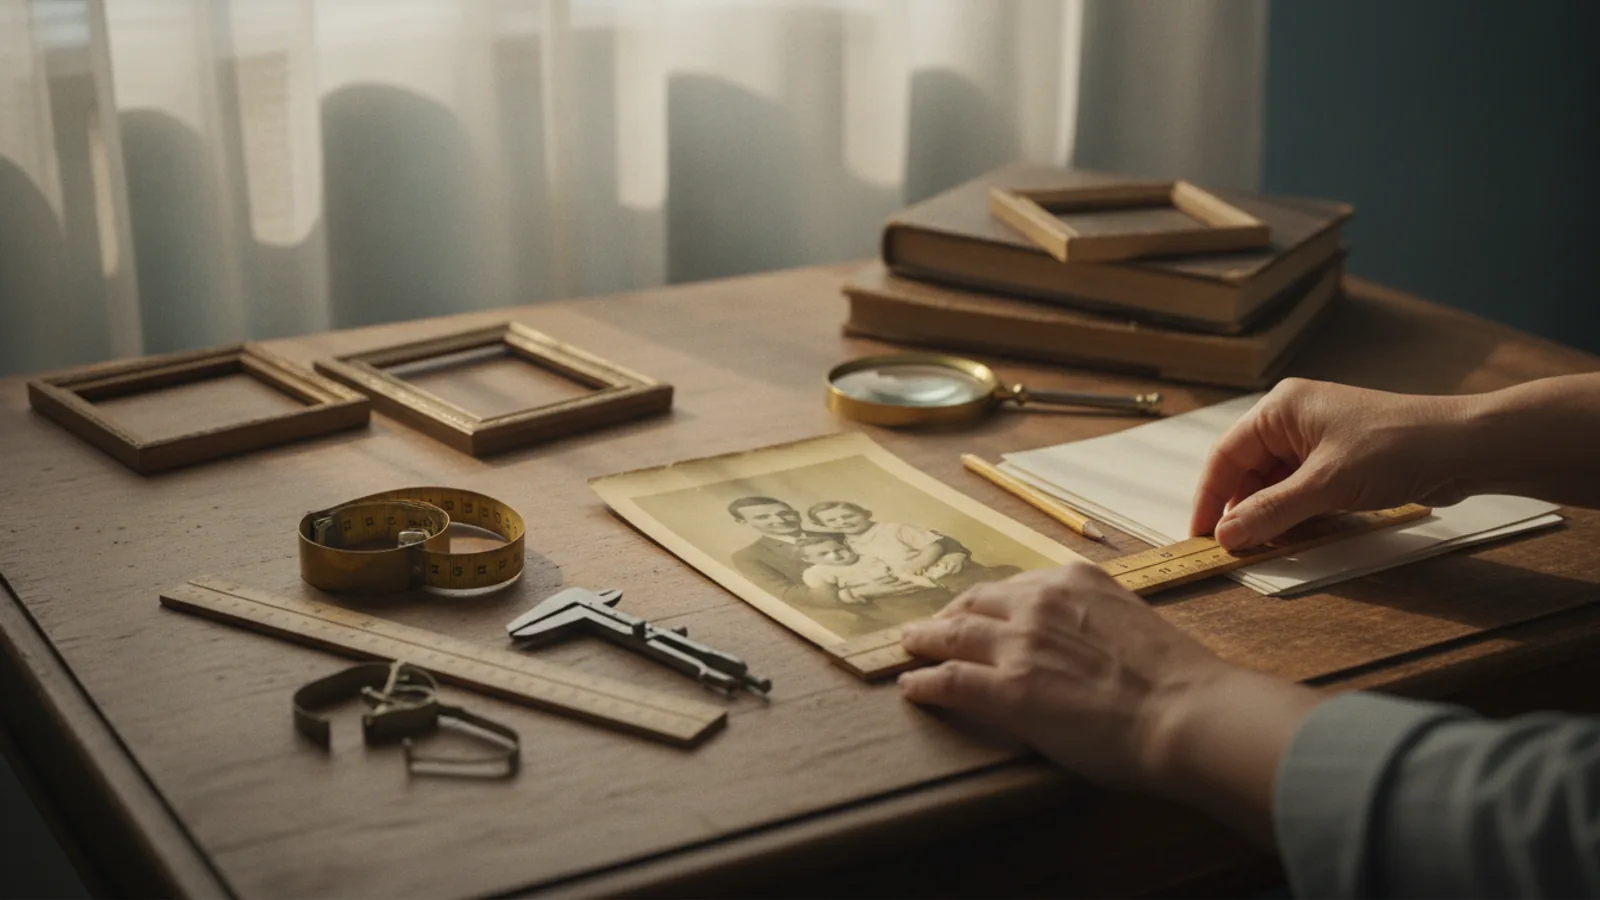
How To Measure A Frame For An Existing Print
Measuring a frame for an existing print is a straightforward process that ensures your artwork fits perfectly and looks its best. By taking accurate measurements of the print and the frame's opening, you can avoid gaps, overlapping, or damage. This guide walks you through each step, from preparing your tools to performing a final check, so you can confidently frame your print at home.
Fast Answer
- Measure the print's height and width at its widest points, including any uneven edges, to determine the minimum frame opening needed.
- Measure the frame's opening from the inside edges of the rabbet (the recess that holds the glass and backing) to ensure the print fits without falling through.
Before You Start
- Gather a metal ruler or measuring tape, a pencil, paper, and a calculator if you need to convert units.
- Clear a flat, well-lit workspace large enough to lay the print and frame flat without bending or creasing.
- Remove any existing backing, glass, or contents from the frame so you can access the rabbet (the inner lip).
- Check the frame for any warping or damage that might affect the opening's dimensions before you begin measuring.
Step-by-Step Instructions
Measure the print's height and width
Place the print on a flat surface and use a metal ruler or measuring tape to measure from the top edge to the bottom edge at the tallest point. Record this height. Then measure from the left edge to the right edge at the widest point, and record this width. If the print has uneven or deckled edges, measure at the widest point to ensure the frame opening will accommodate it. Write down both numbers in the same unit, such as inches or centimeters, to avoid confusion later. This step is first because the print's dimensions set the minimum size for the frame opening. A practical check is to measure each dimension twice, once at the center and once near the edges, to catch any discrepancies. This matters because even a small error can cause the print to not fit or to shift inside the frame.
Measure the frame's rabbet opening
Turn the frame face down on a clean, soft surface. Locate the rabbet, which is the recessed lip on the inside of the frame that holds the glass, print, and backing. Use your ruler to measure the distance from the inner edge of the rabbet on the left to the inner edge on the right, at the top and bottom of the frame. Record the smaller of these two widths. Then measure from the inner edge of the rabbet at the top to the inner edge at the bottom, on both the left and right sides. Record the smaller of these two heights. These measurements give you the actual opening size. Measuring at multiple points accounts for any slight irregularities in the frame. This is done after measuring the print so you can compare the two sets of numbers. A check is to ensure the rabbet opening is slightly larger than the print to allow for easy insertion and a mat, if used.
Compare print and opening dimensions
With both sets of measurements written down, compare the print's height and width to the frame's rabbet opening. The opening should be at least as large as the print in both dimensions; if it is smaller, the print will not fit. Ideally, the opening is slightly larger, typically by a small margin, to allow for a mat or for easy placement without bending the print. Subtract the print's dimensions from the opening's dimensions to find the difference. For example, if the opening is wider than the print, you have room for a mat. If the print is larger than the opening, you will need a different frame or to trim the print, though trimming is not recommended for valuable artwork. This comparison step is crucial because it tells you whether the frame will work as is or if adjustments are needed. A practical check is to place the print inside the frame's opening (without glass) to see how it sits.
Account for mat and mounting method
Consider whether you will use a mat, which is a cardboard border that sits between the print and the frame. A mat provides visual breathing room and prevents the print from touching the glass. If using a mat, the frame opening must be larger than the print by at least twice the mat's border width in each dimension. Measure the mat's outer and inner dimensions if you already have one. Also, think about how you will mount the print: hinging, dry mounting, or photo corners. Each method may add thickness, which can affect how the print sits in the rabbet. For hinging, you will need a bit of extra space in the opening for the hinge tape. This step follows the comparison because it refines the required opening size. A check is to sketch a diagram showing the frame, mat, and print layers to scale.
Verify with a test fit
Before finalizing your measurements, perform a test fit by placing the print (and mat, if using) into the frame's rabbet, without the glass and backing. If you are using glass, place it in first, then the mat, then the print. Check that the print sits flat and does not buckle or slide. The edges of the print should be covered by the rabbet or mat, with no gaps showing. If the print is too loose, it may shift; if too tight, it may bend. This test fit is done after accounting for mat and mounting because it is the moment of truth. A practical check is to measure the total thickness of the stack (glass, mat, print, backing) to ensure it does not exceed the rabbet depth. This matters because a stack that is too thick will prevent the frame from closing properly.
Record final measurements and plan
Once you have confirmed the fit, write down the final measurements for the frame opening, the print, the mat, and any other components. Note the rabbet depth and the total thickness of the stack. This record will be useful if you need to order custom parts or replicate the frame later. Also, decide on the order of assembly: typically, glass goes in first, then mat, then print, then backing, then secure with points or clips. Make a note of any adjustments you made, such as trimming the mat or adding spacers. This final step ensures you have a clear plan before cutting or ordering anything. A practical check is to review your measurements one last time against the frame and print to catch any transcription errors. This matters because accurate records save time and prevent costly mistakes.
Quick Reference
| Situation | Action | Why it helps |
|---|---|---|
| You have a print and a frame but no mat, and you want to know if the print will fit. | Measure the print's height and width at the widest points, then measure the frame's rabbet opening height and width at the narrowest points. Compare the two; the opening must be at least as large as the print in both dimensions. | This ensures the print will not be too large for the opening, which would prevent it from fitting, and helps you decide if you need a larger frame or a mat. |
| You want to add a mat to your framed print for a more professional look. | Measure the print, decide on the mat border width, calculate the mat's outer dimensions by adding twice the border width to each print dimension, and ensure the frame opening is at least as large as these outer dimensions. | This guarantees the mat will fit inside the frame and that the print will be properly supported and centered, avoiding a cramped or misaligned appearance. |
| You are unsure whether the glass and backing will fit in the frame with the print. | Measure the depth of the rabbet from the front face to the back of the frame, then measure the total thickness of the glass, mat, print, and backing stacked together. Compare these two measurements. | This prevents assembly problems where the stack is too thick, which can cause the frame to not close, damage the components, or leave the print loose. |
Common Issues
- The print is slightly larger than the frame opening, so it doesn't fit.: Double-check your measurements; if the print is indeed larger, you may need to use a larger frame or have the print professionally trimmed (only if it's not valuable). Alternatively, you can use a mat with an opening smaller than the print, but the print itself must fit within the frame's rabbet.
- The print is much smaller than the frame opening, leaving unsightly gaps.: Use a mat with an outer dimension matching the frame opening and an inner dimension matching the print. This will fill the gap and create a border. If a mat is not desired, consider a different frame that fits the print more closely.
- The frame's rabbet is too shallow to accommodate the glass, mat, print, and backing together.: Measure the rabbet depth and the stack thickness. If the stack is too thick, you can omit the mat, use thinner glass or backing, or use a frame with a deeper rabbet. Do not force the components, as this can break glass or damage the frame.
Advanced Tips
- Use a digital caliper for precise measurements, especially for small prints or when working with metric units, as it reduces the risk of reading errors.
- Create a paper template of the frame opening and lay it over the print to visualize the final composition and check for any cropping of important details.
- When measuring a frame with a decorative inner edge, measure at the narrowest point of the rabbet, which is where the print will actually rest.
Final Checklist
- Print height and width measured at the widest points, and recorded in consistent units.
- Frame rabbet opening height and width measured at the narrowest points, and recorded.
- Comparison done to ensure opening is at least as large as the print, with allowance for mat if used.
- Test fit performed with all components to confirm proper fit and alignment before final assembly.
FAQ
What is the rabbet in a frame?
The rabbet is the recessed lip on the inside edge of a picture frame that holds the glass, artwork, and backing in place. It is the part you measure when determining the frame's opening size, because it dictates the maximum dimensions of the items that can fit inside the frame.
Do I measure the frame from the outside or inside?
Always measure the frame's opening from the inside, specifically at the rabbet, because that is where the print sits. Measuring the outside of the frame will give you the outer dimensions, which are larger and not relevant to whether your print fits. The outer dimensions are useful only for knowing how much wall space the frame will occupy.
How do I measure a print with irregular edges?
For prints with deckled or uneven edges, measure at the widest point in both height and width. This ensures the frame opening is large enough to accommodate the entire print. If you plan to use a mat, the mat's inner opening should cover the irregular edges for a clean look, so measure the area you want to be visible and size the mat accordingly.