How To Make A Household Inventory Of Family Keepsakes
A practical step-by-step guide to how to make a household inventory of family keepsakes, including preparation, instructions, common issues, tips, and next steps.
How To Make A Household Inventory Of Family Keepsakes
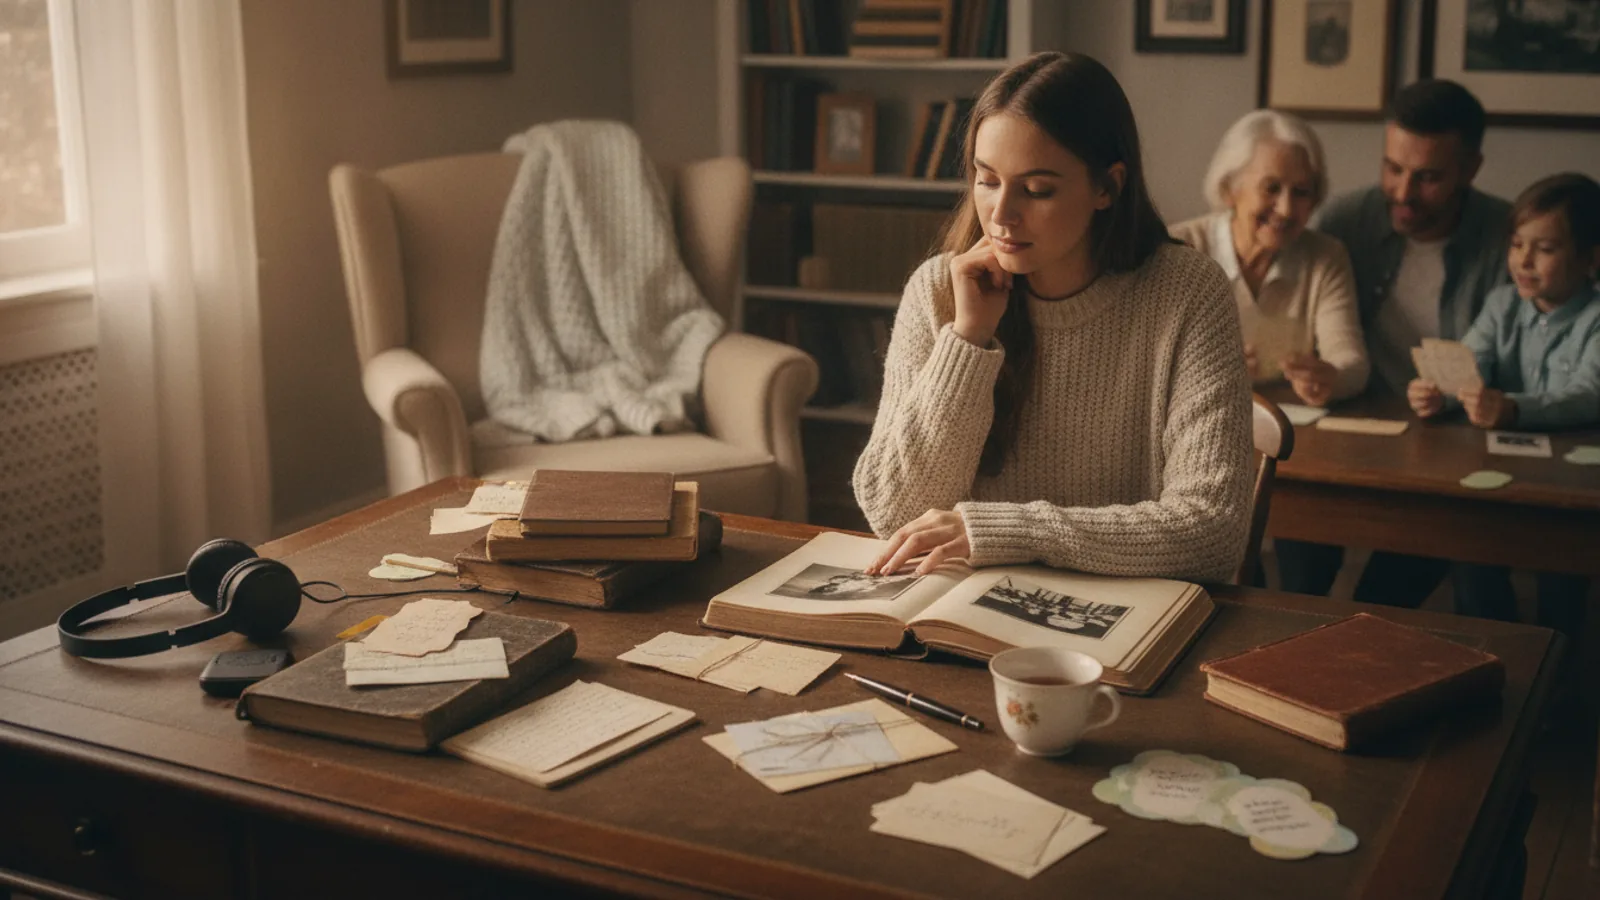
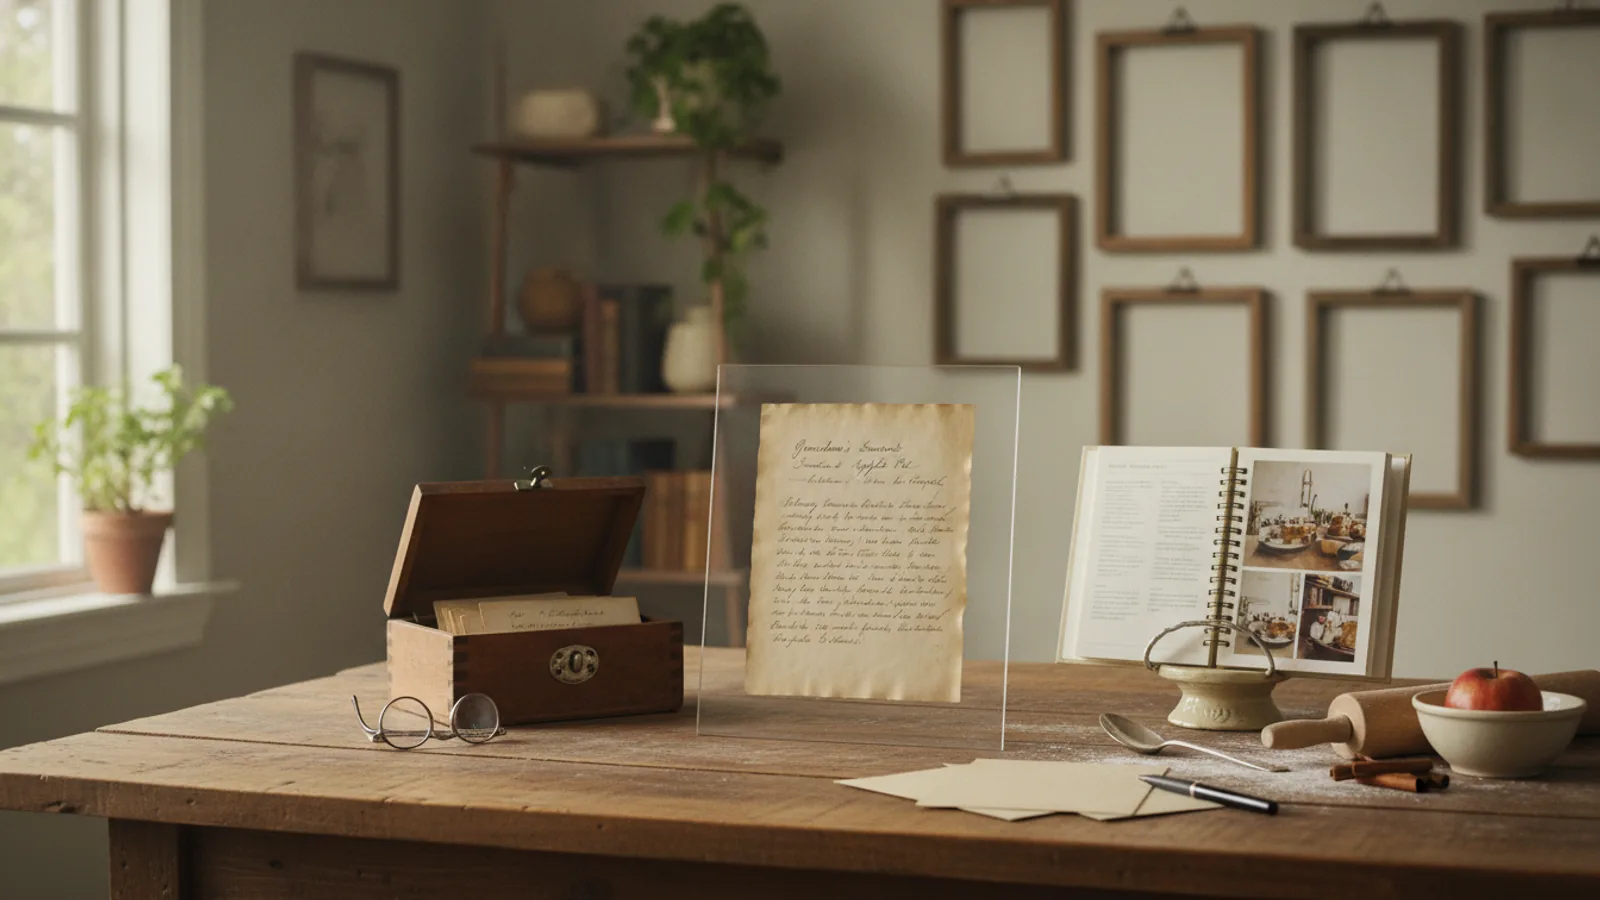
A calm, practical guide to building a household inventory of family keepsakes. You will learn how to plan, label, photograph, describe, store, and maintain a clear record so heirlooms can be found, shared, and protected over time.
Fast Answer
- Start small: choose one shelf or box, list each keepsake, take a clear photo, note the story, then label and store it safely.
- Keep both a digital list and a paper copy, and update the inventory after every family event or move.
Before You Start
- Gather basic supplies: a notebook or blank spreadsheet, a camera or phone, soft cloth, acid-free tissue, labels, and a pen.
- Set aside a quiet work area with good light and enough table space to handle items one at a time without crowding.
- Decide on your sort order: by room, by owner, by item type, or by storage location. Choose one and write it down.
- Tell family members what you are doing and ask them to share stories, dates, and names before you begin photographing.
Step-by-Step Instructions
Choose a manageable starting point and set a clear boundary
Begin with one defined area, such as a single shelf, one storage bin, or the top drawer of a family desk. Write down the boundary before you touch anything, because a clear limit keeps the project from becoming overwhelming and makes it easier to stop and resume later. Place a soft cloth on the table, then remove items one at a time and set each on the cloth. As you work, keep a running count on your notepad so you can confirm that every item from that area is recorded before you move on. This simple check matters because it prevents two common problems: missing an item that was behind others, and recording the same item twice. When the area is empty, review your count against the items on the table. If the numbers match, you have a trustworthy starting point and can move to the next area with confidence.
Assign a unique identifier and write a short label for each keepsake
Give every item a simple, unique code, such as a number plus a short name: 001-blue-quilt or 014-grandpa-watch. Write the code on a small label and attach it in a safe place, such as the underside of a base or a tag tied with soft string. Avoid sticky tape directly on fragile surfaces. The label is the bridge between the physical object and your written record, so it must be readable and firmly attached. After labeling, say the code out loud and check that it matches your list. This check matters because a wrong or missing code breaks the link between the item and its story, photo, and location. If an item cannot be labeled safely, note its position in the storage box and describe it clearly in your record instead. Then set the labeled item in a holding area in the same order as your list so nothing is lost.
Take clear photographs from several angles in soft, even light
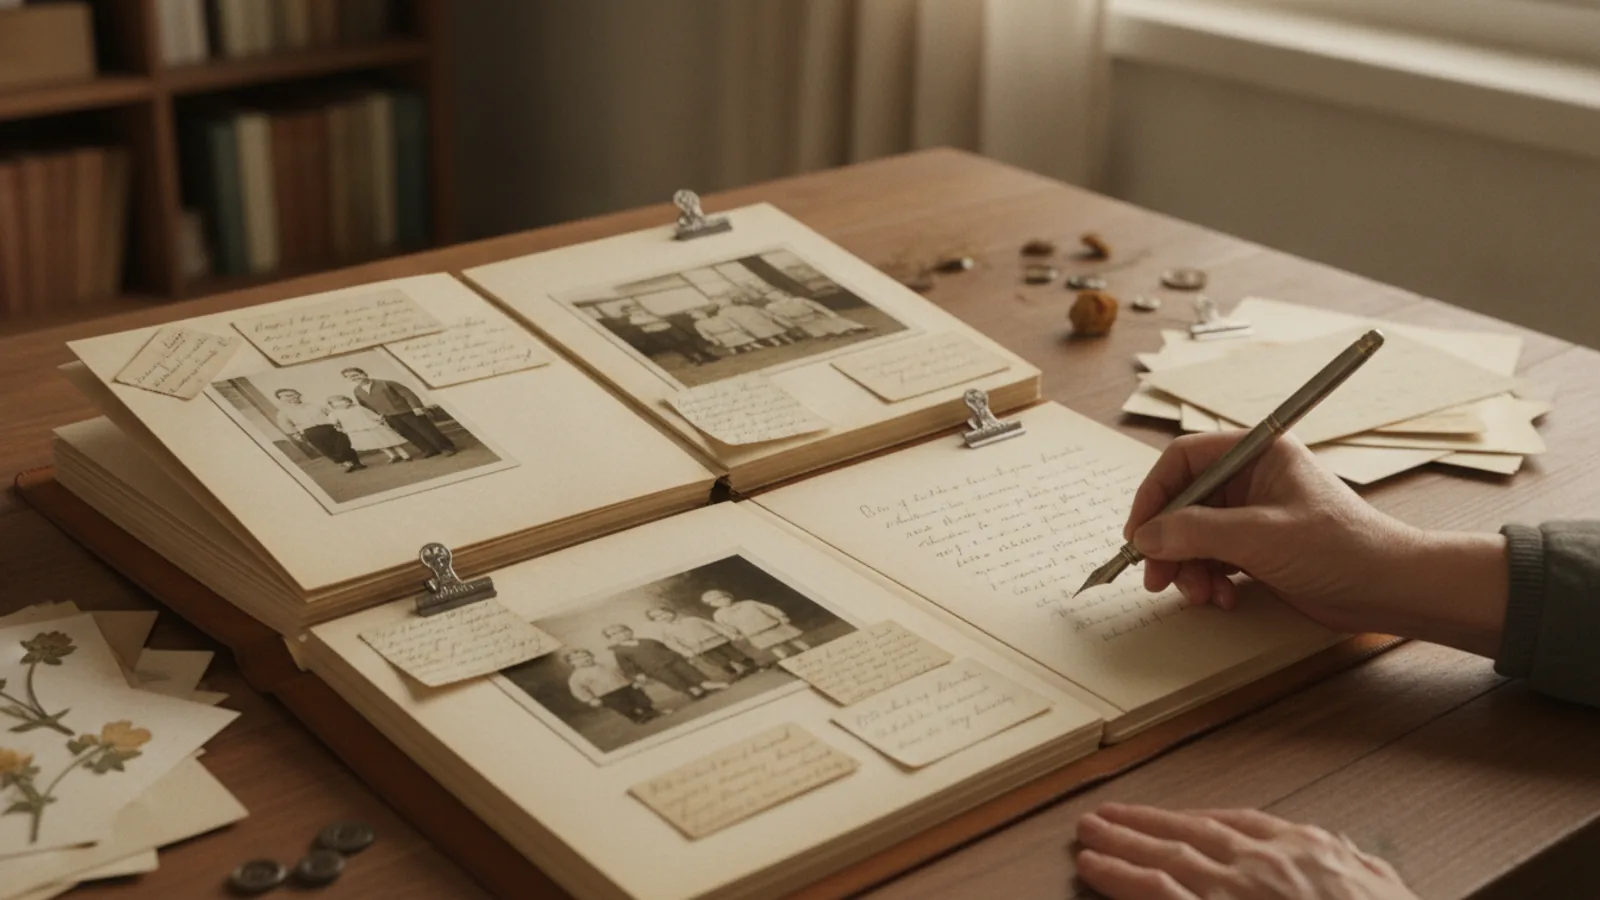
Place the item on a plain, neutral background and use soft, indirect light. Take one photo of the whole object, one close-up of any maker's mark, signature, or damage, and one photo of the back or underside. If the item has moving parts, photograph them open and closed. Keep the camera steady and fill the frame without cutting off edges. After each set, review the images on the screen and check that the code label is visible in at least one shot. This check matters because a blurry or incomplete photo cannot help you identify an item years later, and a missing label photo can cause confusion if two similar items are stored together. Name each image file with the same code you wrote on the label. Store the photos in a folder that matches your inventory list, and make a second copy in a different location so a single loss does not erase your work.
Record the story, condition, and current location in your master list
Open your notebook or spreadsheet and create a row for each code. Write the item name, who it belonged to, the approximate date or era, the story behind it, its condition, and its exact storage location. Use plain words and short sentences. For condition, note cracks, fading, missing parts, or repairs, and mention anything that needs attention soon. After you finish a page or a screen of entries, read each line back and compare it with the labeled item in front of you. This check matters because small errors in names, dates, or locations grow into big problems when family members try to find or share an item later. If you are unsure about a detail, write 'needs confirmation' rather than guessing. Then file the paper copy in a safe place and save the digital copy under a clear file name that includes the date of your inventory session.
Pack and store keepsakes with safe materials and a logical order
Choose storage that protects from dust, light, pests, and sudden temperature changes. Use acid-free tissue or soft cloth for textiles, padded boxes for fragile items, and separate bags for metal pieces that might scratch others. Place heavier items at the bottom and lighter items on top. Do not overcrowd a box; leave a little room so nothing presses on a fragile surface. After packing, write the inventory code on the outside of the box and keep a list of what is inside taped to the lid. Then open the box once and check that each item matches the outside list and that no item is resting on a sharp edge. This check matters because a well-packed box can still damage a keepsake if pressure or contact points are ignored. Store boxes in a dry, stable spot away from direct sun, and tell at least one other family member where they are kept.
Share the inventory, set a review date, and keep it current
Make at least two copies of your inventory: one digital and one paper. Give a copy to a trusted family member and keep one with your important household records. Write a review date on your calendar, such as once a year or after any move, wedding, or loss in the family. On that date, pick one box or shelf, check each item against the list, and note any changes in condition or location. This check matters because keepsakes move, fade, or get separated over time, and an outdated inventory can send family members looking in the wrong place. During the review, update photos if an item has changed and add new keepsakes that arrived during the year. Finally, ask the person who holds the second copy to confirm they still have it and can find it. That simple conversation keeps the whole system alive and useful.
Quick Reference
| Situation | Action | Why it helps |
|---|---|---|
| You inherit a box of mixed keepsakes with no labels or notes. | Empty the box onto a soft cloth, sort items into groups by owner or type, and assign a temporary code to each group before you write any permanent labels. | Sorting first prevents you from labeling an item with the wrong story and gives you a clear count so you can confirm nothing is lost or recorded twice. |
| A fragile textile or paper item is too delicate to handle often. | Photograph it in place without moving it, write a detailed description from the photo, and note in your list that the item should only be handled with clean gloves and flat support. | This protects the object from unnecessary wear while still capturing its details and ensures future readers know to use safe handling methods. |
| Family members disagree about who should keep a particular keepsake. | Record the item in the inventory with its story and current location, then note that ownership is pending a family conversation; share the inventory copy with everyone involved. | A written, neutral record reduces confusion and gives everyone the same facts, which makes a calm discussion easier and prevents the item from being lost during the disagreement. |
Common Issues
- You feel overwhelmed and stop after only a few items.: Set a timer for a short, fixed period and work on one small area only. When the timer ends, stop and write down exactly where you left off. A small completed section is more useful than a large unfinished one, and the written stopping point makes it easy to resume.
- Photos are blurry, dark, or missing important details.: Move to a spot with soft, indirect light, place the item on a plain background, and steady your hands on a table or book. Take one wide shot, one close-up, and one of any mark or damage. Review each image on the screen before moving on, and retake any shot that does not clearly show the item and its label.
- The inventory list and the storage boxes no longer match.: Choose one box at a time, empty it, and check every item against the list. Correct any wrong codes, add missing items, and remove entries for items that are no longer there. Then repack the box, update the outside label, and note the date of the correction so you can see when the record was last made accurate.
Advanced Tips
- Create a short audio recording of an elder telling the story behind a few key keepsakes, then store the file with the matching item codes so the voice and the object stay linked.
- Use a simple condition scale, such as stable, watch, or urgent, so family members can quickly see which items need care without reading every note.
- Keep a small 'travel kit' with gloves, acid-free tissue, a soft brush, and blank labels so you can record a newly received keepsake safely before it sits in a bag or drawer.
Final Checklist
- Every keepsake has a unique code, a readable label, and at least one clear photo that shows the code.
- Your master list includes the item name, owner, story, condition, and exact storage location for each entry.
- A second copy of the inventory exists in a different place, and a trusted family member knows where to find it.
- A review date is set, and each storage box is labeled with its contents and last checked date.
FAQ
How often should I update a household keepsake inventory?
Review it at least once a year and also after any major change, such as a move, a marriage, a death in the family, or the arrival of a new inherited item. A yearly review catches small changes in condition and location before they become confusing, and event-based reviews keep the record accurate when items change hands.
What should I do if I cannot identify an item or its owner?
Write 'unknown' in the owner field and add a careful description of the item, including size, material, marks, and where it was found. Ask older relatives to look at the photo, and record any guesses as 'needs confirmation' rather than facts. Keeping uncertainty visible prevents wrong stories from becoming accepted family history.
Is a digital inventory enough, or do I need a paper copy too?
Keep both. A digital copy is easy to search, share, and back up, while a paper copy still works when power or a device is unavailable. Store the paper copy with your important household records and keep the digital copy in a secure place with a backup in a different location. Then tell a trusted family member where both copies are kept.