How To Display Copies While Protecting Original Photos
A practical step-by-step guide to how to display copies while protecting original photos, including preparation, instructions, common issues, tips, and next steps.
How To Display Copies While Protecting Original Photos
This guide explains how to safely display copies of your original photographs while keeping the originals protected from light, handling, and environmental damage. You will learn to create high-quality duplicates for framing, albums, or sharing, and to store originals in dark, stable conditions. The process covers selecting which photos to copy, choosing a reproduction method, preparing files correctly, printing or mounting displays, labeling both versions, and performing regular checks. By following these steps, you can enjoy your photos every day without risking the irreplaceable originals.
Fast Answer
- Make a high-resolution copy of each original photo, then store the original in a dark, dry, stable place and display only the copy.
- Use a flatbed scanner or a camera with even lighting to capture the full image, check the copy for sharpness and color, and print or frame the copy on acid-free materials.
Before You Start
- Gather your original photos and set up a clean, dust-free workspace with a flat surface, soft gloves, and a soft brush for gentle cleaning.
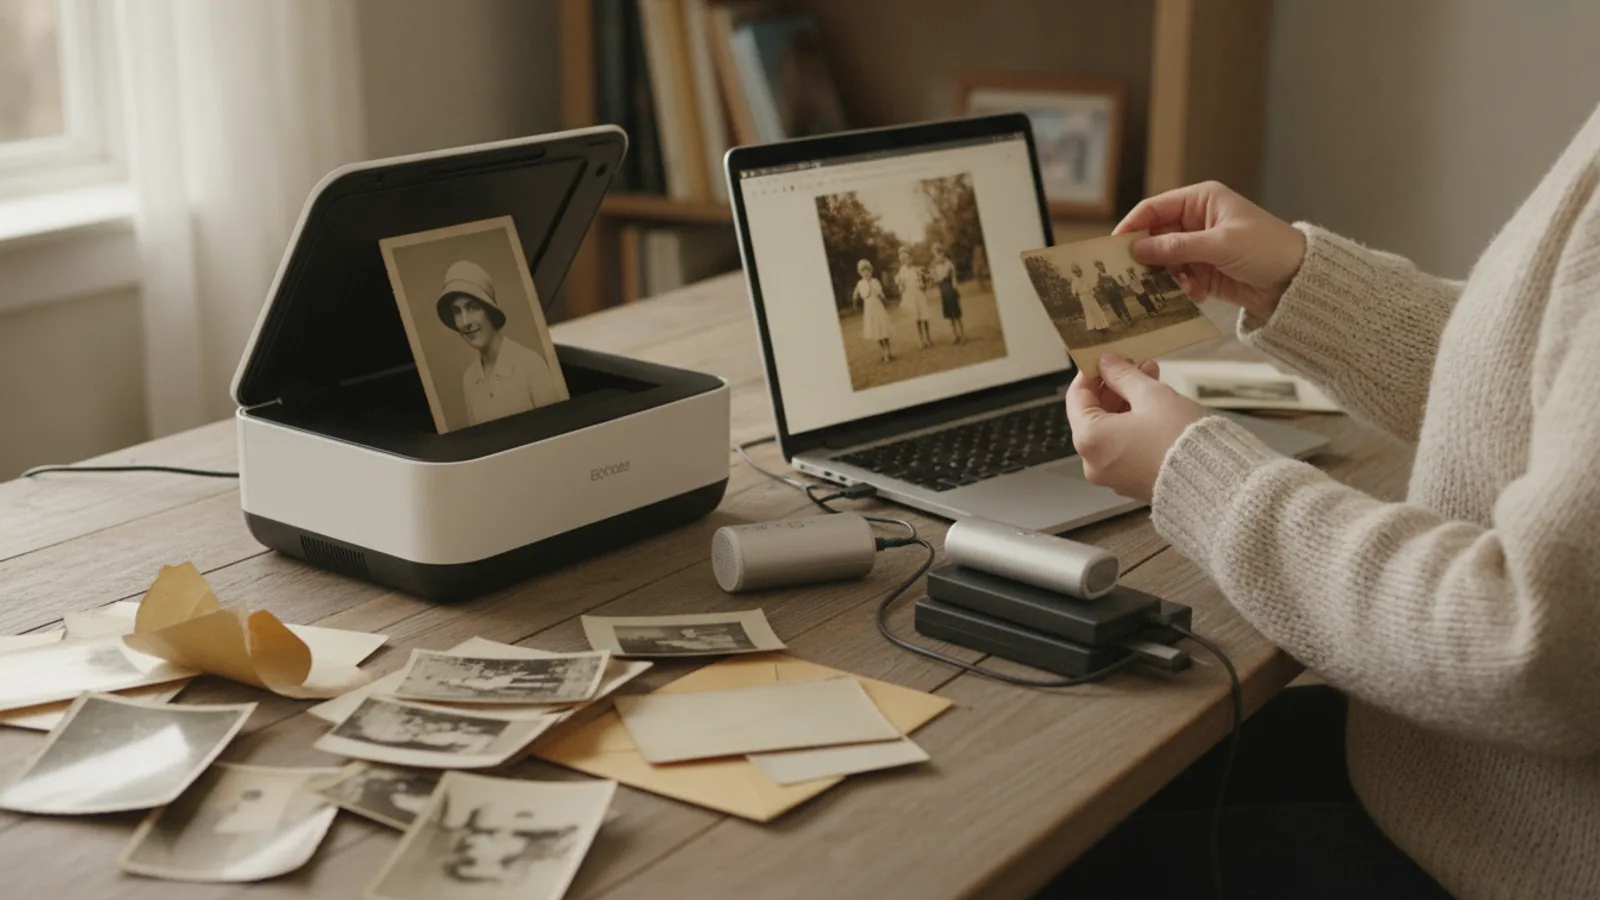
- Check your copying equipment: a flatbed scanner or a digital camera with a macro lens, a tripod, and two soft lights placed at equal angles.
- Prepare storage for originals: acid-free boxes, envelopes, or sleeves, plus a dark, cool, and dry cabinet or shelf away from sunlight and heat.
- Create a simple labeling system using a notebook or spreadsheet to record each photo's identifier, date, condition, and where the original and copy are kept.
Step-by-Step Instructions
Choose which photos to copy first
Begin by sorting your collection and choosing the photos that matter most to display. Look for images with strong personal meaning, clear subjects, and reasonable condition, because damaged or faded originals are harder to reproduce well. Place candidates in a single layer on a clean table, and use a soft brush to remove loose dust only after you have noted any tears, stains, or curling. Write a simple identifier on a separate slip of paper for each photo, never on the photo itself, and record its condition. This ordering matters because it lets you practice your copying method on sturdier items before you handle fragile ones, reducing the chance of accidental damage. As a practical check, confirm that each chosen original lies flat and that you can lift it safely without bending. If a photo feels brittle or sticks to its neighbor, set it aside for now and seek expert guidance before copying.
Set up a clean and stable copying station
Create a dedicated workspace with a flat, solid surface that does not wobble. Cover the surface with a clean, lint-free cloth or a sheet of acid-free paper, and keep food, drinks, and pets away from the area. For camera copying, mount your camera on a tripod directly above the photo so the lens points straight down, and place two soft lights at equal angles from the left and right to reduce glare and shadows. For scanner copying, wipe the glass with a lint-free cloth and let it dry completely. Arrange your tools within reach: gloves, a soft brush, a blower, and your labeling materials. This setup matters because even lighting and a steady camera or scanner produce a copy that is sharp and color-accurate, while a shaky or uneven setup creates blur and strange color casts that are hard to fix later. Check that the photo sits parallel to the camera or glass before you capture.
Capture a high-quality digital copy
Place one original photo at a time in the center of your copying area. If using a scanner, select a resolution that captures fine detail without creating an unnecessarily huge file, and choose a color mode that matches the original, such as color for color photos and grayscale for black-and-white prints. If using a camera, set the lens to a middle aperture for sharpness, use a low sensitivity setting to reduce noise, and frame the photo so its edges align with the frame. Focus carefully on the surface texture, then capture the image. Immediately review the copy on your screen at full size, checking for sharpness, even lighting, and accurate color. This review matters because a quick check now saves you from discovering blur or glare after you have already returned the original to storage. If the copy looks soft or uneven, adjust the lighting or focus and capture again before moving to the next photo.
Edit copies without changing the originals
After capturing your copies, open each file on your computer and make gentle adjustments only to the copy. Straighten the image, crop away the background around the photo, and correct exposure, contrast, and color to match the original as closely as possible. Use a soft brush tool to remove dust specks that came from the scanning or camera process, but do not try to repair deep scratches or missing areas unless you are experienced; heavy editing can create an unnatural look. Save a master copy in a lossless format and keep it untouched, then create a separate working copy for printing or sharing. This two-file approach matters because it preserves a faithful record of the original while letting you prepare a display version. As a practical check, compare your edited copy side by side with the original under neutral light; if the copy looks too bright, too dark, or oddly colored, undo the changes and try again with smaller adjustments.
Print or mount the copies for display
Choose a printing or mounting method that suits the copy and the place where it will be shown. For prints, select paper that is labeled acid-free and, if possible, lignin-free, because those materials are less likely to damage the copy over time. Print a small test first and compare it with your screen under the same lighting you expect in the display area. If you prefer a frameless mount, use archival corners or photo-safe sleeves rather than tape or glue. When framing, add a mat or spacer so the copy does not touch the glass, and keep the frame out of direct sun. This care matters because even a copy can fade or yellow if it is printed on poor materials or exposed to strong light, and a good display should last for years without changing. Check that the copy sits flat and that no adhesive touches its surface before you hang or place it.
Store and label originals securely
Return each original to safe storage as soon as you have confirmed that its copy meets your needs. Place originals in acid-free envelopes or sleeves, then put them in a sturdy box that keeps them flat and away from light, dust, and pests. Store the box in a cool, dry, and dark place with stable temperature and humidity, such as an interior closet shelf, rather than a basement, attic, or garage. Label the outside of the box with a general description and date range, and keep your digital index updated with the location of each original. This storage step matters because light, heat, moisture, and acidic materials cause gradual and irreversible damage, and a stable dark environment slows that process dramatically. As a practical check, open the box once or twice a year to confirm that the contents are dry, flat, and free of insects or mold, and adjust the location if you notice any problem.
Quick Reference
| Situation | Action | Why it helps |
|---|---|---|
| You want to display a fragile or torn original photo. | Make the best possible copy without forcing the original flat, then store the original in a rigid acid-free sleeve and display only the copy. If the damage is severe, contact a conservator before any handling. | Fragile photos can crack or lose pieces when bent or pressed, so limiting handling to a single careful copying session protects the original from further harm while still allowing you to enjoy the image. |
| Your copy looks blurry or has uneven lighting. | Re-capture the photo with the camera or scanner perfectly parallel to the surface, add or move lights to equal angles, and use a tripod or stable support. Review the new copy at full size before storing the original again. | Blur and uneven light usually come from movement, poor alignment, or unbalanced lighting, and these issues cannot be fully fixed later without degrading the image, so correcting the source is faster and produces a better result. |
| You are not sure whether your storage area is safe for originals. | Check the spot for direct sunlight, heat sources, dampness, and temperature swings, then compare it with the storage guidance from a local archive or conservation organization. Move the originals to an interior, dark, and dry location if you find any risk. | Light, heat, and moisture cause cumulative damage that may not be visible at first, and verifying conditions in your own space lets you make a specific improvement instead of relying on general assumptions. |
Common Issues
- The copy shows a strong color cast or looks dull compared with the original.: Re-capture the photo with a neutral reference such as a gray card in the frame, use consistent lighting, and avoid mixing different light sources. In your editing software, use the reference to set white balance, then make small adjustments to brightness and contrast. If the original itself has faded, accept a faithful copy of its current state rather than trying to restore colors that are no longer present.
- The original photo sticks to its sleeve or to another photo.: Do not pull the photos apart. Place the stuck items in a dry, cool area and consult a conservator or your local archive for guidance. In the meantime, make a copy only if you can do so without separating them. For future storage, use sleeves that are confirmed photo-safe and avoid stacking loose photos directly against each other.
- You cannot remember which digital file matches which original.: Create a simple index with a unique number for each original, and write that number on the storage sleeve, never on the photo. Name each digital file with the same number and a short description. Store the index in two places, such as a notebook and a computer file, and update it whenever you move an original or create a new copy.
Advanced Tips
- Use a calibration target in your first capture of each session so every copy shares the same color and exposure reference.
- Keep a small notebook with your copying settings for each type of original, such as glossy prints, matte prints, and slides, so you can repeat good results quickly.
- Create two display copies for favorite photos: one for the wall and one for an album, so you can rotate them and reduce light exposure on any single copy.
Final Checklist
- Each displayed item is a copy, and every original is stored flat in an acid-free sleeve inside a dark, dry, and stable box.
- Your digital index lists each original's identifier, condition, storage location, and the file name of its copy.
- All copies were reviewed at full size for sharpness, even lighting, and color accuracy before the originals were put away.
- You have checked your storage area for light, heat, moisture, and pests within the last six months and corrected any problems.
FAQ
Can I display a copy outdoors or in a sunny room?
You can display a copy in a bright room, but keep it out of direct sunlight and away from strong reflected light. Even a copy can fade over time, so choose a spot with indirect light, use a frame with a mat or spacer, and consider rotating the display every few months. Check the copy occasionally for color shifts or fading, and replace it with a new print if you notice changes. The original should remain in dark, stable storage regardless of where the copy is shown.
How often should I check my stored originals?
Plan to inspect your stored originals once or twice a year. Open the storage box in a clean, dry area, check that the sleeves are flat and dry, and look for signs of mold, insects, or curling. If you find a problem, move the originals to a better location and consult a conservator for advice. Record the date of each check in your index so you can see patterns over time. Regular checks let you catch small issues before they become serious.
What should I do if I cannot make a good copy myself?
If your equipment or skills are not producing a copy that meets your needs, consider asking a local archive, library, or photo lab for help. Describe the original's condition and ask what copying method they recommend, and confirm that they handle fragile items with care. You can also practice on less important photos first to improve your technique. Never force a fragile original flat or try to repair it yourself; professional guidance protects both the original and your ability to display it.