How To Choose A Picture Ledge For Family Photos
A practical step-by-step guide to how to choose a picture ledge for family photos, including preparation, instructions, common issues, tips, and next steps.
How To Choose A Picture Ledge For Family Photos
Choosing a picture ledge for family photos is a practical way to display and rotate memories without heavy framing. This guide walks you through measuring, selecting materials, planning layout, installing safely, and styling your ledge for a calm, changing display that grows with your family.
Fast Answer
- Measure your wall space and decide on a ledge depth that fits your photo sizes and frames.
- Pick a material and finish that suits your room, then install at a comfortable viewing height.
Before You Start
- Clear the area below the wall and gather a tape measure, pencil, level, and stud finder.
- Decide which family photos will go on the ledge and note their frame sizes and orientations.
- Check your local home improvement store or online retailer for ledge options that match your style and capacity needs.
- Ask everyone in the household about the desired viewing height and whether the display should be reachable for changes.
Step-by-Step Instructions
Measure Your Wall and Photos
Start by measuring the available wall width and height where you want the ledge. Use a tape measure to note the total width in inches or centimeters, and check for obstructions like outlets, switches, or adjacent furniture. Next, measure the largest photo or frame you plan to display, including its outer dimensions. This tells you the minimum ledge depth and length you need. For example, if your widest frame is five inches deep, choose a ledge at least six inches deep so the frame sits securely without hanging over the edge. Also, count how many photos you want to show at once and estimate the total linear space they will occupy. A practical check is to lay your frames on the floor in a row to see the real footprint. This matters because guessing often leads to a ledge that is too small or too shallow, forcing you to cram items or leaving empty gaps that look unfinished.
Choose the Right Material and Depth
Picture ledges come in wood, metal, or composite materials, each with different weight limits and looks. For family photos, wood ledges often blend well with traditional decor, while metal ledges can suit modern rooms. Depth is critical: a shallow ledge of two to three inches works for small, unframed prints or thin frames, but deeper ledges of four to six inches hold standard frames and small objects. Consider the weight of your photos and frames. A ledge made of solid wood can usually support more weight than a hollow composite ledge. Check the product specifications for the maximum weight capacity and compare it to the total weight of your frames. If you plan to lean frames against the wall, a deeper ledge provides more stability. A practical check is to place a sample frame on the ledge in the store or at home to see how it sits. This check matters because an unstable frame can slide or fall, putting your photos and family members at risk.
Plan the Layout and Viewing Height
Before installing, decide where the ledge will go on the wall. The ideal viewing height is around eye level for adults, often about sixty to sixty-six inches from the floor, but this can vary based on your family's height and whether children need to see the photos. Use a pencil to lightly mark the intended center and ends of the ledge on the wall. Then, arrange your photos on the floor or a table in the order you want them displayed. This step helps you see the balance of sizes, colors, and orientations. Consider grouping photos by theme or time period to create a cohesive story. A practical check is to stand back and view the arrangement from the main seating area or doorway. This matters because a layout that looks good up close may feel cluttered or sparse from a distance, and moving frames after installation is more work than planning ahead.
Locate Studs and Prepare the Wall
Find the wall studs using a stud finder, or tap the wall gently and listen for a solid sound. Studs are typically spaced sixteen or twenty-four inches apart, but this can vary. Mark the stud centers with a pencil. If your ledge is long and spans multiple studs, you can screw directly into them for maximum strength. If studs are not available where you need them, use wall anchors rated for the weight of the ledge and its contents. Check your local hardware store for anchors suitable for your wall type, such as drywall or plaster. Before drilling, confirm there are no hidden wires or pipes behind the wall by checking for outlets, switches, or using a wire detector. A practical check is to insert a small nail into the wall at a marked spot to confirm the stud's location. This matters because drilling into a wire or pipe can cause damage or injury, and anchoring into hollow drywall alone may not hold the weight.
Install the Ledge Securely
With the wall prepared, hold the ledge against the wall at your marked height and check it with a level. If the ledge has pre-drilled holes, align them with your stud marks or anchor points. For a ledge without holes, drill pilot holes through the ledge's mounting flange or brackets, then drill matching holes in the wall. Insert screws or anchors and tighten them firmly, but avoid over-tightening, which can crack wood or strip anchors. If the ledge is heavy, ask a helper to hold it while you secure it. After installation, gently press down on the ledge to test its stability. A practical check is to place a few frames on the ledge and see if it shifts or sags. This matters because a loose ledge can fall, and testing now prevents a dangerous surprise later.
Style and Rotate Your Family Photos
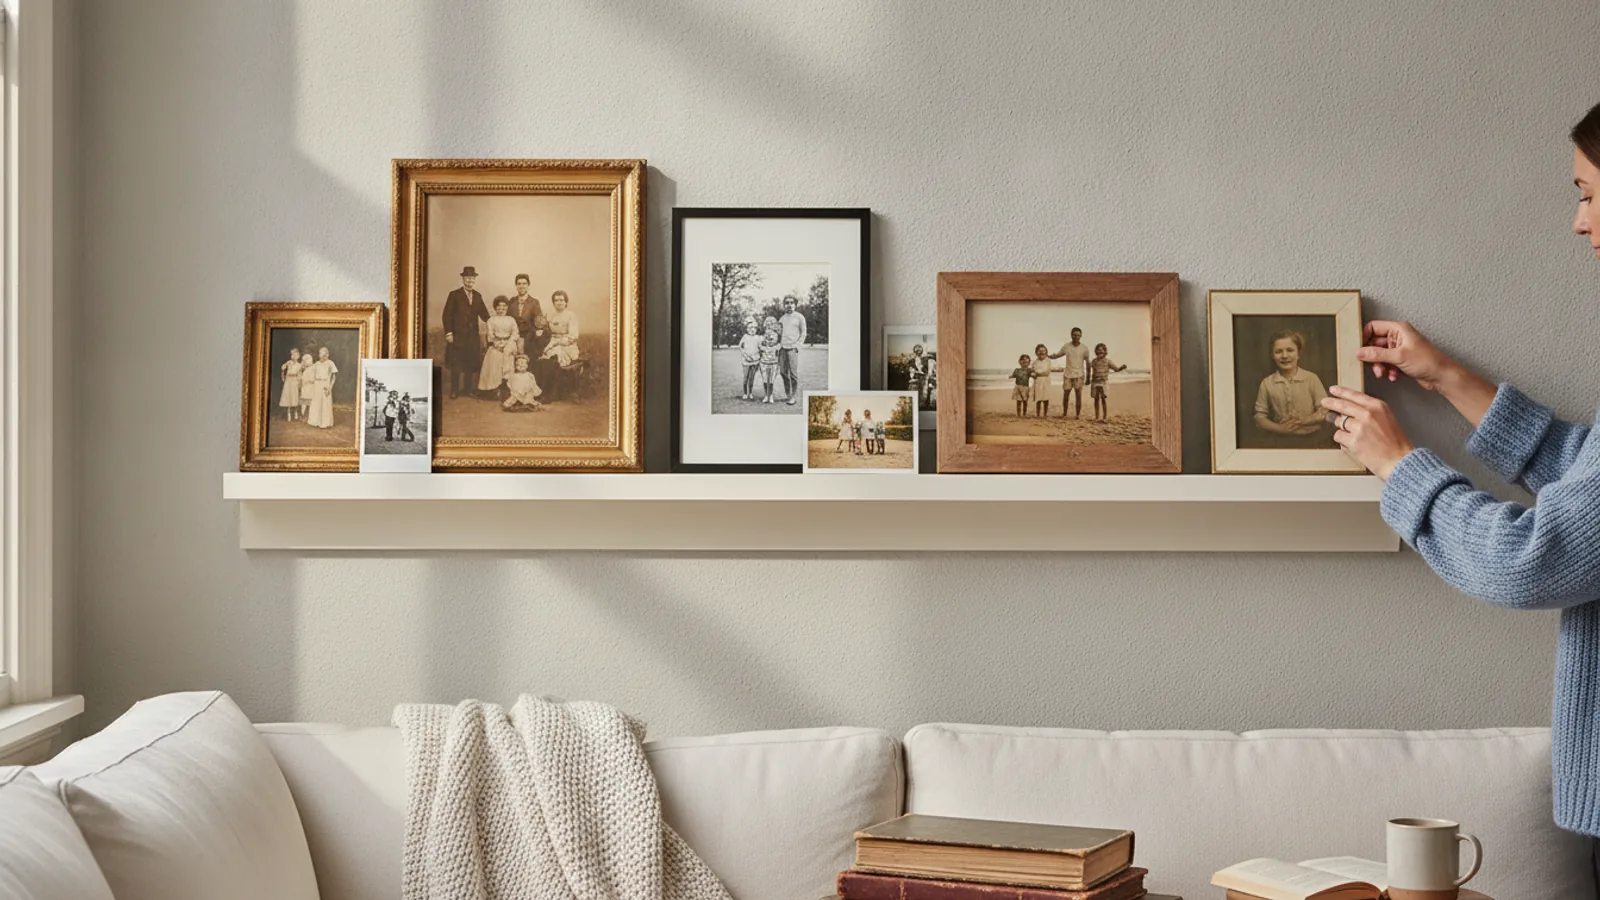
Once the ledge is secure, arrange your photos. Start with larger frames at the back and smaller ones in front, or overlap them slightly for a layered look. Lean frames against the wall at a slight angle so they do not tip forward. Mix horizontal and vertical orientations to add visual interest. Leave some empty space between groups so the display feels calm rather than crowded. For a changing display, choose a few favorite photos to feature and store the rest nearby for easy rotation. A practical check is to take a photo of the final arrangement with your phone so you can recreate it after rotating. This matters because a styled ledge turns a simple shelf into a personal gallery, and having a reference makes updating the display quick and enjoyable instead of a chore.
Quick Reference
| Situation | Action | Why it helps |
|---|---|---|
| You have a narrow wall and many photos to display. | Install two or three shorter ledges stacked vertically with at least twelve inches between them. | Stacking increases display area without needing a wider wall, and the spacing prevents frames from blocking each other. |
| Your frames are deep and heavy. | Choose a ledge that is at least six inches deep and mount it directly into wall studs. | Deep frames need more support to stay stable, and studs provide the strongest hold for heavier loads. |
| You want to change photos often without moving the ledge. | Leave a few inches of empty ledge on each end and store extra photos in a nearby box or basket. | Extra space lets you swap frames easily, and keeping backups within reach encourages frequent updates. |
Common Issues
- The ledge sags in the middle after loading photos.: Add one or more support brackets along the middle of the ledge, securing them into studs or using heavy-duty anchors. Distribute heavier frames toward the ends and lighter items in the center.
- Frames slide forward and fall off the ledge.: Increase the ledge depth or lean frames back against the wall at a steeper angle. You can also place a thin strip of non-slip material on the ledge surface to increase friction.
- The wall has no studs where you need them.: Use toggle bolts or heavy-duty wall anchors rated for the total weight of the ledge and photos. Consult your local hardware store for anchors suitable for your wall material and follow the manufacturer's instructions.
Advanced Tips
- Paint the ledge the same color as your wall to make the photos appear to float, or use a contrasting color to make the ledge a feature.
- Use small picture lights or LED strips above the ledge to highlight photos without glare, but check that the lights do not produce too much heat near frames.
- Number the back of each frame and keep a simple list of what is displayed so you can track rotations and preserve fragile prints.
Final Checklist
- Ledge is level and securely anchored into studs or appropriate wall anchors.
- All frames sit stable and do not overhang the front edge of the ledge.
- Viewing height is comfortable from the main areas where you will look at the photos.
- There is extra space or a storage plan for rotating photos in the future.
FAQ
How deep should a picture ledge be for framed family photos?
For most framed photos, a ledge depth of four to six inches works well. Measure your deepest frame and add at least one inch of clearance. If you use unframed prints or very thin frames, a two- to three-inch ledge may be enough. Always check that the frame's base fits fully on the ledge without hanging over.
Can I install a picture ledge without drilling into studs?
Yes, but you must use wall anchors rated for the combined weight of the ledge and your photos. Anchors designed for drywall or plaster can hold moderate weight, but they are not as strong as studs. Check your wall type and choose anchors that match. For heavy loads, always try to hit at least one stud.
How do I keep photos from falling off a picture ledge?
Lean frames back against the wall at a slight angle and avoid placing them too close to the front edge. A deeper ledge and non-slip material can also help. If you have small children or pets, consider using adhesive putty under lighter frames, but test it on an inconspicuous area first to ensure it does not damage finishes.