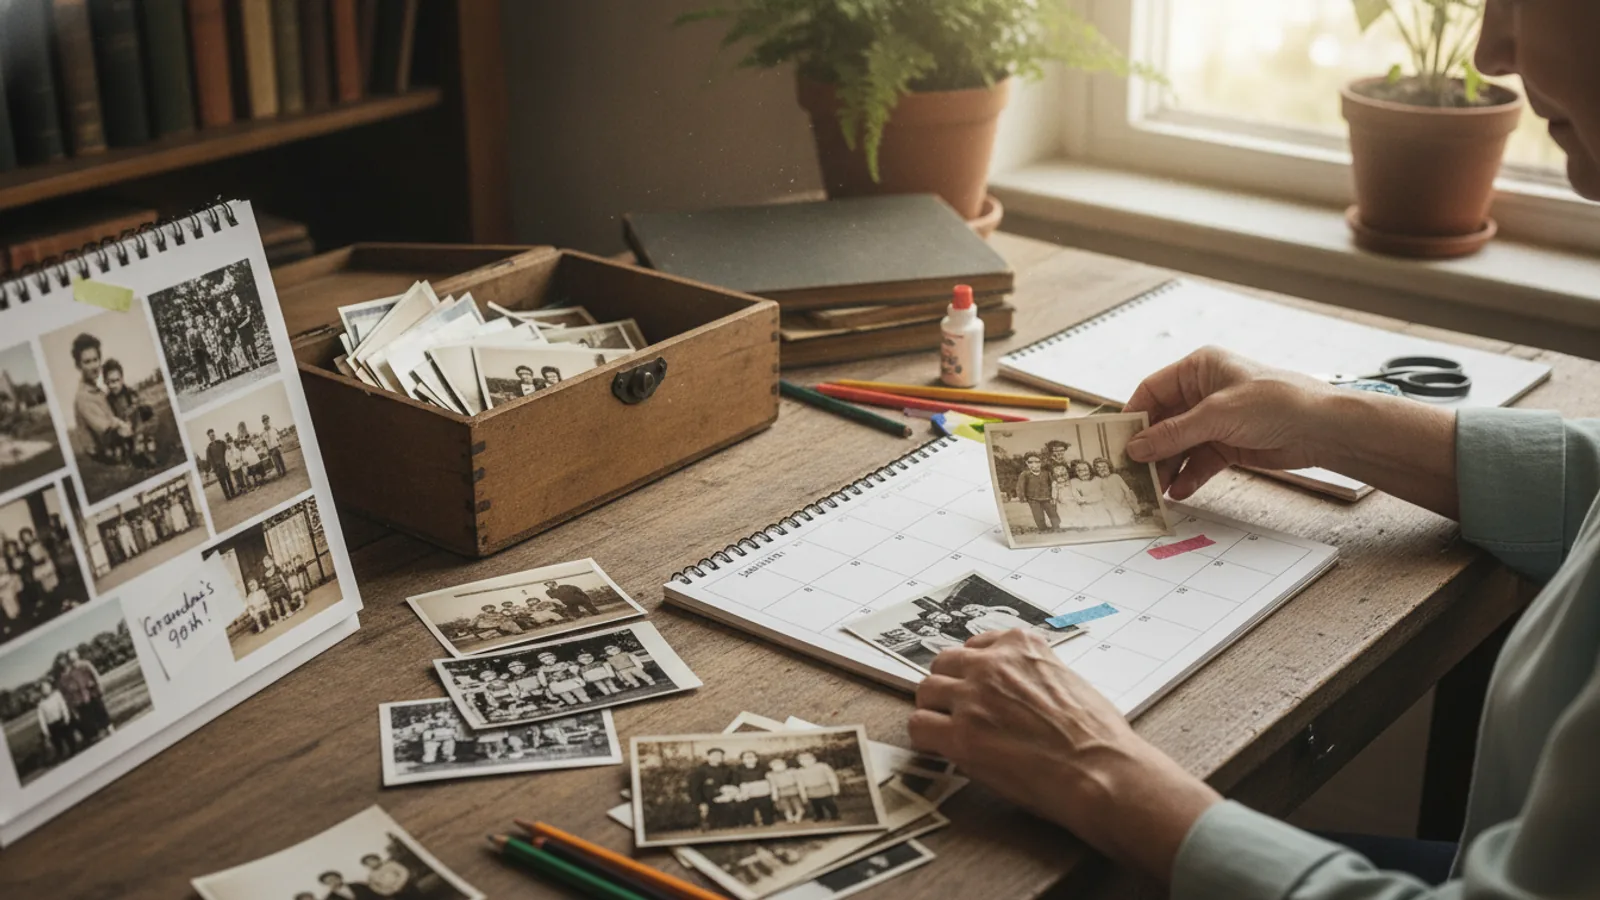
How To Choose A Mount For A Family Photograph
A practical step-by-step guide to how to choose a mount for a family photograph, including preparation, instructions, common issues, tips, and next steps.
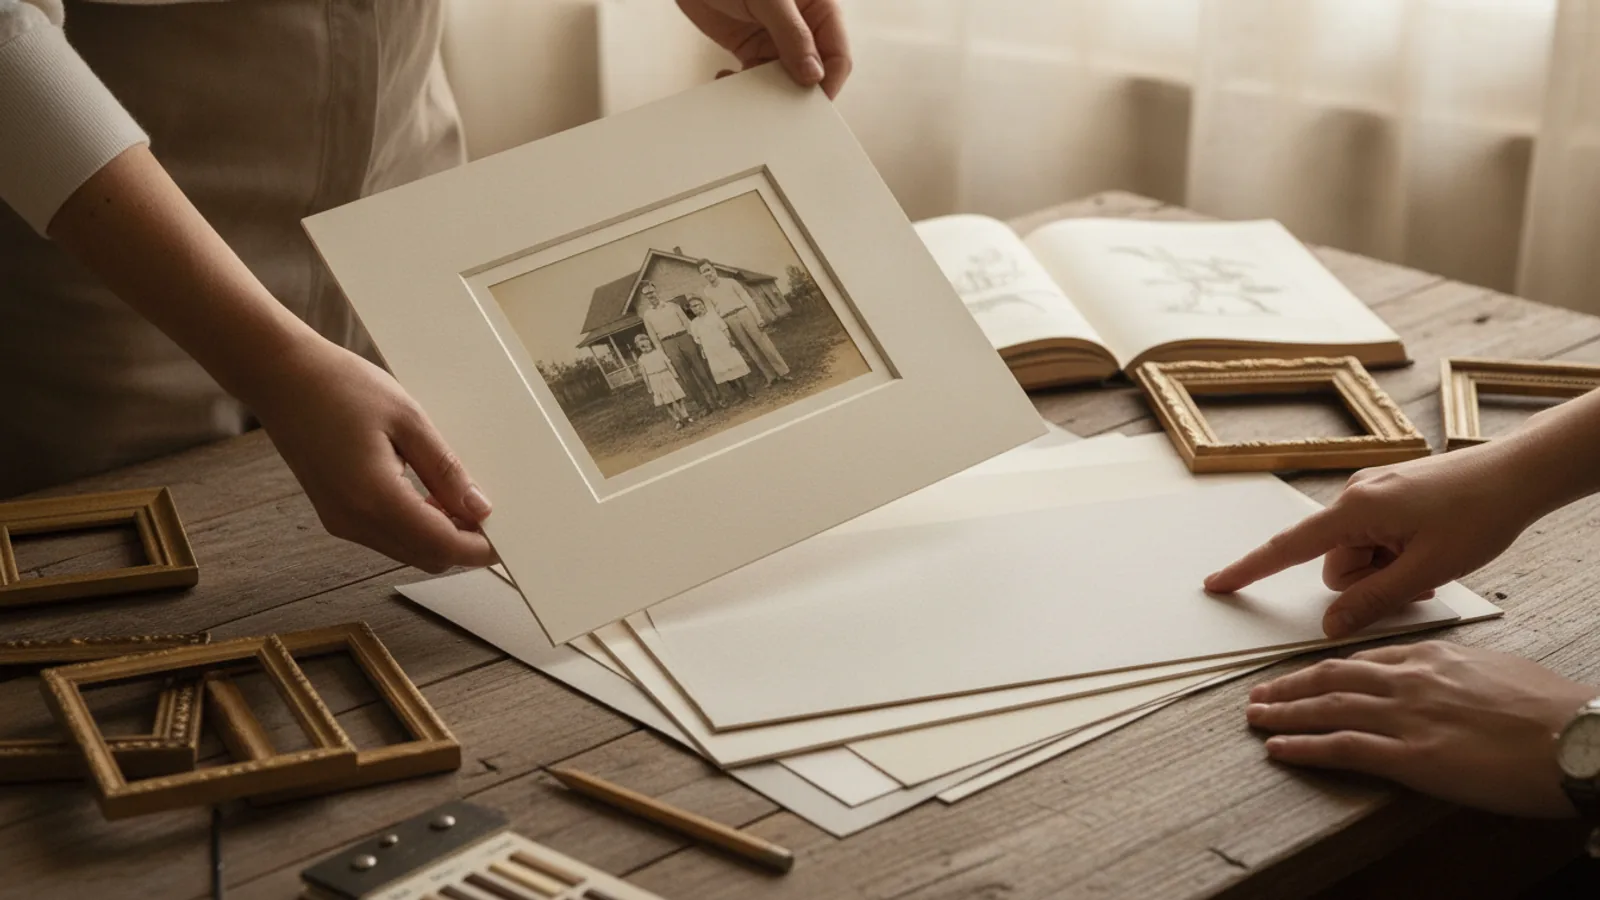
How To Choose A Mount For A Family Photograph
Choosing a mount for a family photograph is a decision about protection, display, and long-term care. The right mount holds the print flat, keeps it away from dust and light damage, and lets you enjoy the picture without worrying about it sagging or fading. This guide walks you through measuring your print, selecting a mount style, checking materials, and preparing the wall or surface so the photograph stays safe and looks its best for years.
Fast Answer
- Measure your print and the space where it will hang before you buy anything, then match the mount size, depth, and material to those measurements.
- Choose a mount that protects the print from dust and light, fits your wall or shelf, and suits how often you plan to change the display.
Before You Start
- Measure the printed photograph on all four sides and write down the exact dimensions, including any white border you want to keep visible.
- Decide where the photograph will live: a sunny wall, a hallway, a shelf, or a stairwell, because light and traffic change what mount works best.
- Gather a tape measure, a pencil, a level, and a soft cloth so you can check the wall and handle the print without smudging it.
- Look at the print surface and edges to note whether it is glossy, matte, textured, or fragile, since some mounts press or rub more than others.
Step-by-Step Instructions
Measure the print and the wall space
Start by measuring the photograph itself, edge to edge, and write the numbers down. Then measure the wall or shelf area where you plan to place it, leaving breathing room on each side so the mount does not crowd a doorway, switch, or neighboring frame. A practical check is to hold a piece of paper or cardboard cut to the mount size against the wall and step back to view it from where people will usually stand. This matters because a mount that fits the print but overwhelms the wall looks unbalanced, and a mount that is too small can leave the print vulnerable at the edges. Write both sets of numbers in a notebook or on your phone so you can compare them while shopping.
Choose the mount style for the room
Decide whether you want a simple frame, a floating mount, a matted frame, a clip mount, or a shelf ledge. Each style changes how much the print is protected and how easy it is to swap. Think about the room: a hallway with passing traffic benefits from a covered frame, while a quiet study may suit an open ledge. A sensible order is to pick protection first, then appearance. A practical check is to open and close the mount, or imagine doing so, and ask whether you could change the photograph without touching the image surface. This matters because mounts that require handling the print every time raise the risk of fingerprints, creases, and edge damage.
Check the material and surface contact
Look at what touches the front and back of the print. Acid-free board, clean plastic sleeves, and smooth backing reduce the chance of staining or sticking over time. Avoid mounts with rough or oily surfaces that can press into a glossy print. A practical check is to slide a sheet of plain paper into the mount first and leave it for a day, then inspect it for marks, dust, or pressure lines. This matters because some materials react slowly with ink and paper, and the damage may only appear months later when the photograph is already displayed. If the mount came with a protective film, read the included care note and follow it.
Match the mount depth to the print
Measure the thickness of the print, including any backing or mat, and compare it with the depth of the mount opening. A mount that is too shallow will bow the print or press the surface, while one that is too deep lets the print shift and gather dust behind it. A practical check is to place the print in the mount without forcing it and see whether it sits flat with a small, even gap. This matters because constant pressure can create wavy reflections on glossy prints and can slowly flatten textured paper. If the print is mounted on stiff board, allow a little extra depth and avoid tight corners that can chip the edges when you insert it.
Test the hanging method and weight
Confirm how the mount attaches to the wall or stands on a shelf, and make sure the hardware matches the weight of the finished piece. Light mounts may use a simple hook, while heavier frames need a nail, screw, or adhesive strip rated for the load. A practical check is to hang the empty mount first, step back, and adjust it until it sits level, then remove it and add the print. This matters because hanging a complete frame and then adjusting it invites drops and corner damage. If you rent or cannot make holes, check your lease or building guidance and choose a removable option that suits the surface.
Inspect, clean, and place the finished mount
Before the final placement, wipe the outside of the mount with a soft dry cloth and check the print for dust or smudges using a clean brush or blower. Set the mount in its chosen spot, view it from several angles, and confirm that light does not create harsh glare on the surface. A practical check is to look at the photograph at different times of day and from the main seating area. This matters because glare and reflection can hide faces and make a family portrait hard to enjoy, while dust left inside the mount can look like damage later. When everything looks right, note the date and the mount details in a small home record.
Quick Reference
| Situation | Action | Why it helps |
|---|---|---|
| The photograph will hang in a bright room with afternoon sun. | Choose a mount with a protective cover or place it on a wall that receives indirect light, then check the surface at different hours before final placement. | Direct light can fade inks and paper over time, and moving the mount to a softer light area protects the image without changing the photograph itself. |
| You want to change the displayed family photo every few months. | Pick a mount with an open back, removable clips, or a shelf ledge so the print can be swapped without touching the image surface. | Frequent handling raises the risk of fingerprints and creases, so a mount designed for easy changes keeps the photograph safer between rotations. |
| The wall is textured, curved, or made of a material that resists nails. | Test a removable adhesive or a stand-alone shelf mount first, following the product instructions and checking the surface after a day. | Some surfaces hold hardware poorly or leave marks, so testing a reversible option prevents damage to both the wall and the photograph. |
Common Issues
- The print bows or ripples inside the mount after a few weeks.: Remove the print, check that the mount depth matches the print thickness, and add a flat acid-free backing board if needed. Reinsert the print gently and store the mount away from damp walls.
- Dust or small specks appear between the print and the cover.: Take the print out in a clean room, wipe the inside of the cover with a dry cloth, and reseal it. Avoid pressing hard on the surface, and check the room for nearby vents or open windows.
- The mount slips or tilts on the wall over time.: Recheck the hanging hardware and wall surface, then adjust the attachment point or add a second support. Confirm the hardware is rated for the weight and re-level the mount before leaving it.
Advanced Tips
- Use a mat border wider at the bottom than the sides for a balanced look, and cut it from acid-free board to reduce long-term contact damage.
- Keep a small notebook with the print size, mount style, hanging date, and light conditions so future reframing or moving is faster and more consistent.
- Rotate displayed family photographs every season to spread light exposure and to keep the collection fresh without adding new frames.
Final Checklist
- The mount size fits the print with an even border and does not crowd doorways, switches, or nearby frames.
- The front and back materials are clean, dry, and suitable for long contact with the print surface.
- The hanging method matches the wall surface and the weight of the finished mount.
- The chosen spot avoids direct sun, heat, damp, and heavy traffic, and the print looks clear from where people sit.
FAQ
How do I know if a mount is the right size for my print?
Measure the print on all four sides and compare those numbers with the mount opening. Leave a small even border so the print sits flat without bending, and check that the finished size fits the wall space you have. If the print has a white border, decide whether you want it covered or visible before choosing the mount.
Can I hang a family photograph in a bathroom or kitchen?
These rooms often have moisture, heat, and grease that can damage paper and ink over time. If you want a photograph there, choose a well-sealed mount and place it away from the shower, stove, and sink. Check the area after a week for condensation or marks, and move the print if the surface feels damp.
What should I do if the mount arrives with a scratch or a loose part?
Contact the seller or maker with your order details and a clear description of the problem before using the mount. Do not force a damaged part into place, because pressure can transfer to the print. Keep the packaging and note the condition so you can explain the issue accurately and ask about a replacement or return.